Snapshots
Create point-in-time snapshots of your instances.
Snapshots capture the full state of an instance and can be used to restore or duplicate it later.
With an agent (MCP)
Connect the redu MCP, then just ask your agent. It calls create_snapshot to snapshot an instance, list_snapshots to see them, and delete_snapshot to remove one.
Take a snapshot of web-01 called pre-upgrade.1. Create a snapshot
Go to:
Menu → Compute → Virtual Machines → Snapshots
Then:
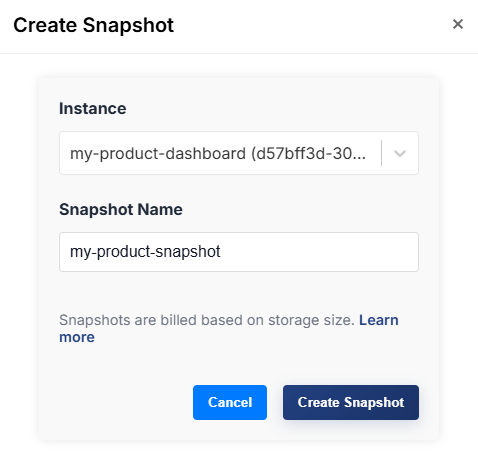
- Click Create Snapshot
- Select an instance with status
ACTIVE - Enter a snapshot name
- Submit the form
Notes
- Only instances in
ACTIVEstate can be snapshotted - Snapshot creation is asynchronous
- Status will change from
creating→active
2. View snapshots
Snapshots appear in a list with:
- Name
- Source instance
- Size
- Status
- Creation date
Status values
creating, snapshot is being createdactive, snapshot is readydeleting, snapshot is being removederror, operation failed
3. Delete a snapshot
To delete a snapshot:
- Open the actions menu for the snapshot
- Click Delete Snapshot
- Confirm the action
Deletion is permanent and cannot be undone.
When to use snapshots
- Before system upgrades or changes
- To create reusable instance templates
- For quick recovery of a specific instance state
Tips
- Use clear naming, for example:
app-prod-baseline-20260401- Remove unused snapshots to reduce storage usage
Troubleshooting
Snapshot creation fails
Check that:
- The instance is
ACTIVE - There is enough storage available
Snapshot stuck in creating
- Wait a few minutes
- Refresh the page
- Retry if necessary
Delete fails
- Ensure no operations are using the snapshot
- Try again after a short delay
Related
Last updated on